Working with TFS in IntelliJ IDEA via VSTS Plugin
Recently Microsoft released a plugin for JetBrains IntelliJ IDEA in order to integrate this IDE with VSTS and TFS. Although Microsoft did a good job describing on how this plugin should be installed and described some basic settings, there are many non covered questions by the documentation provided. This is especially true when it comes to TFS and HTTPS. I will show you what is necessary in order to setup a connection for both Git and TFVC repositories on TFS.
Installing the plugin
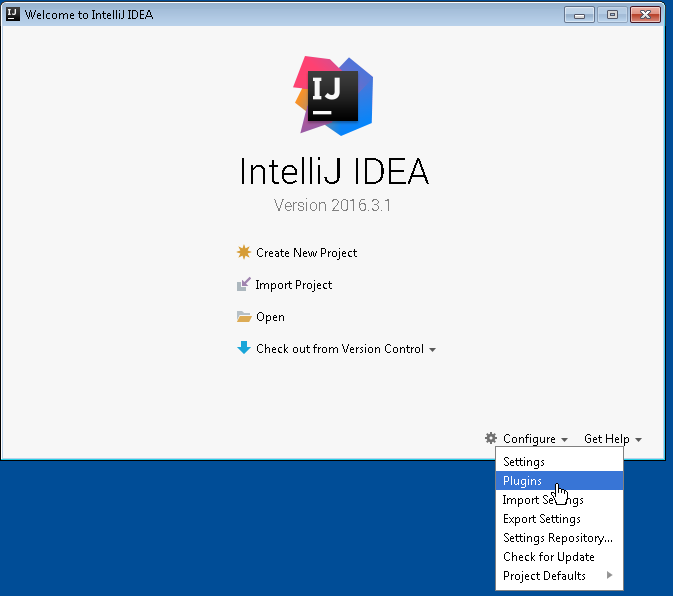
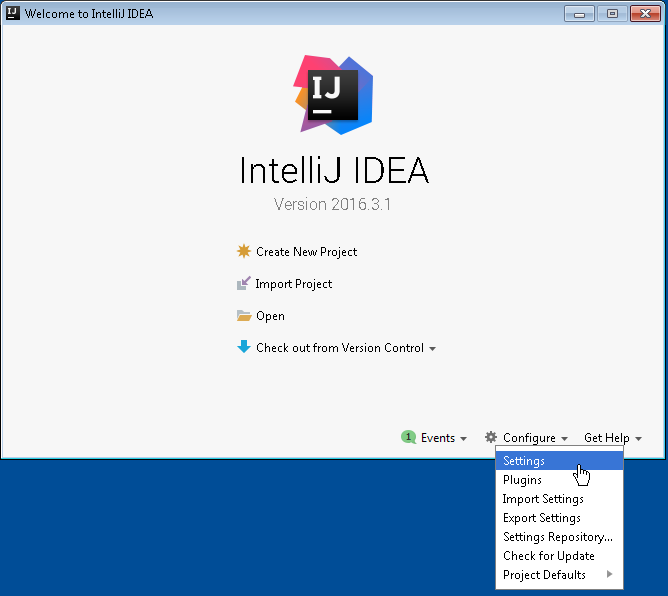
In order to install the plugin, in the main screen of IDEA, choose Plugins from Configure menu:
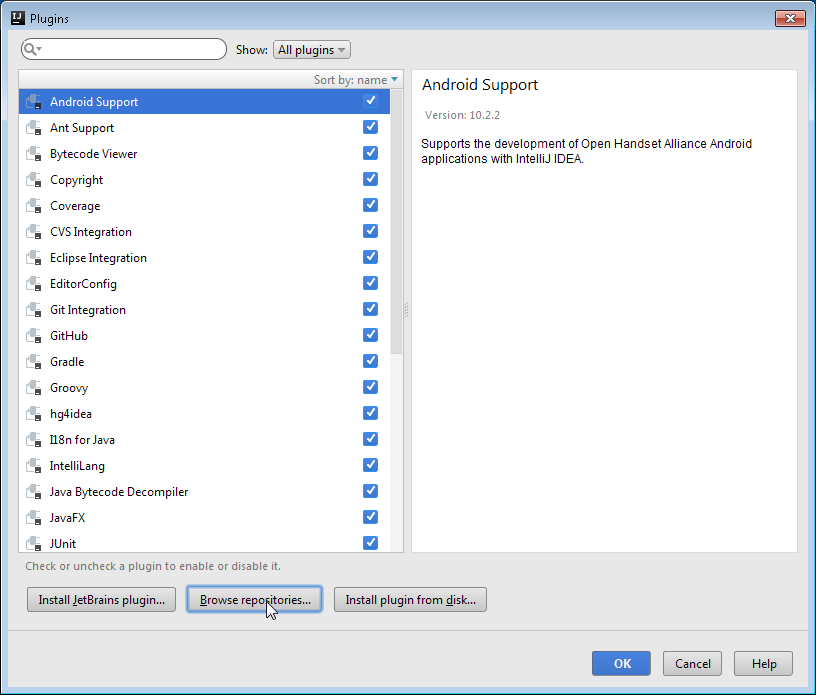
Once the plugin window opens, choose Browse repositories
In browse repositories search for Visual Studio
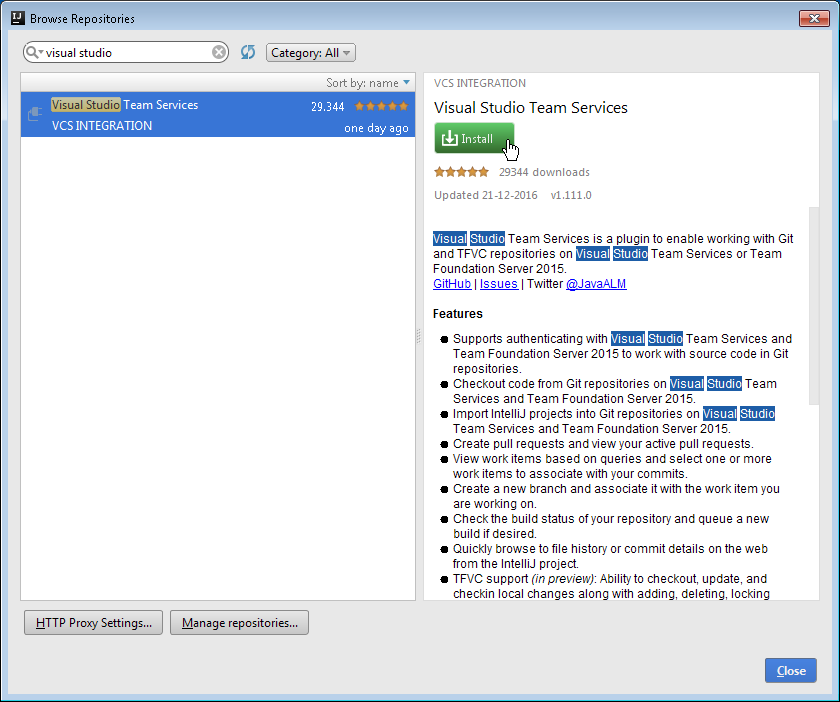
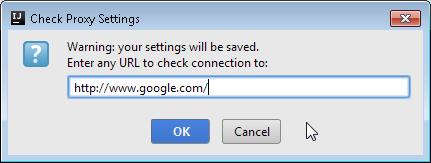
If the Visual Studio Team Services plugin is not found, your connection may not be setup correctly. In case you are, as I am, behind a proxy, you need to click on HTTP Proxy settings button in the same screen (bottom left) and you will be presented with the following dialog
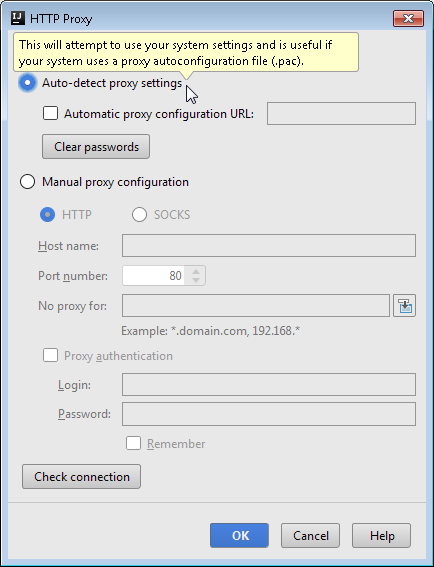
Here you need to setup the necessary parameters (Auto detect proxy settings worked for me) and test your connection by clicking on Check connection button. Once done you will be prompted to enter an address that is behind the proxy so that internet connection can be verified. I used http://www.google.com/ for my test.
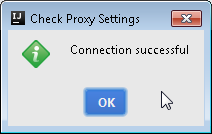
After confirming, you should see the following message
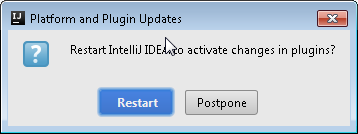
Now, back to Browse repositories screen, the Visual Studio Team Services plugin now should be found. Click on install and after the procedure finishes you will be asked to restart IntelliJ IDEA. Do so, restart the IDE.
The plugin is now installed. In case this is not sufficiently clear, you can also follow the Microsoft guide Visual Studio Team Services Plugin for IntelliJ IDEA and Android Studio.
Be also sure that you have at least version v1.111.0 installed as I encountered issues with TFVC and previous versions of the plugin.
Importing the certificate
In case you are not accessing TFS through SSL connection you can skip this part. For Visual Studio Team Services plugin to connect to the TFS via https, that is using a self-signed certificate, no matter if you do intend using Git or TFVC, you need to import the certificate in the IntelliJ IDEA certificate store. To do so, export your certificate in the Base-64 encoded X.509 format. You can read about this in one of mine previous posts, Installing self-signed certificates into Git cert store.
Once you exported your certificate and let’s say saved it in C:\temp folder under the name tfs.cer, you need to open the command prompt and position yourself under the folder containing keytool.exe application. You can find it in the IntelliJ IDEA install folder, which in my case is C:\Program Files (x86)\JetBrains\IntelliJ IDEA Community Edition 2016.3.1\jre\jre\bin.
Once there you will then execute the following command
keytool -keystore "C:\Program Files (x86)\JetBrains\IntelliJ IDEA Community Edition 2016.3.1\jre\jre\lib\security\cacerts" -importcert -alias TFS -file "C:\temp\tfs.cer"
You will be then prompted for the keystore password. If you haven’t changed it, the default password is
changeit
After typing the password you will see the details about the certificate you are trying to import, and again you will be prompted to confirm that you trust this certificate. Type yes and you are done. Your screen should look like this

Visual Studio Team Services plugin and Git
Before we even start, we need to be sure that a Git client is installed on our machine. From the Welcome screen choose Configure then Settings.
In the settings window move to Version control -> Git pane and test the path to your Git client
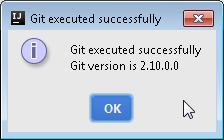
In case all is good you should get back the version of your Git client
If this is not the case, or the path is wrong (change it and try again) or the Git client is not present on your machine. You can install Git for windows and you will find the necessary here.
In case you are using the https connection with TFS and it is based on a self-signed certificate do not forget to add that certificate into the Git cert store. This is something different then adding it to the Java cert store that I described in the previous chapter. You will need to do both of these steps. As I already described this procedure in detail, you can follow my other blog post Installing self-signed certificates into Git cert store.
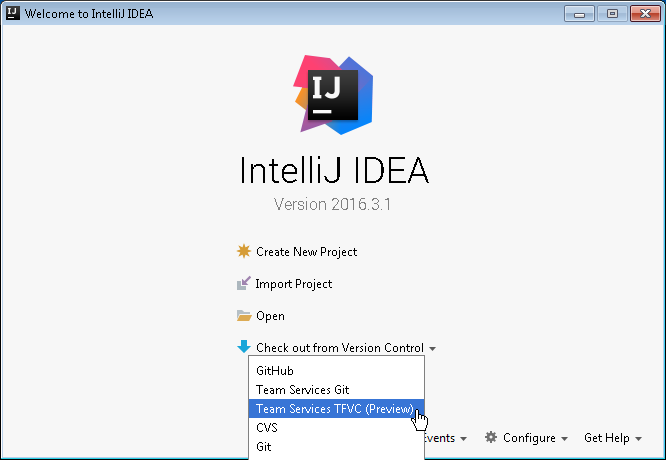
Once the Git client is installed and certificate is imported, we can continue setting up the Visual Studio Team Services plugin. Get back to the welcome scree of IntelliJ IDEA and in the version control drop down choose Team Services Git
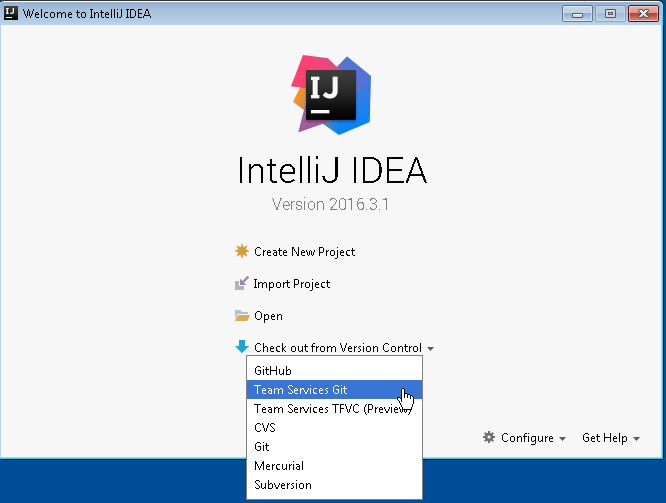
At this point a new dialog will be presented to you.
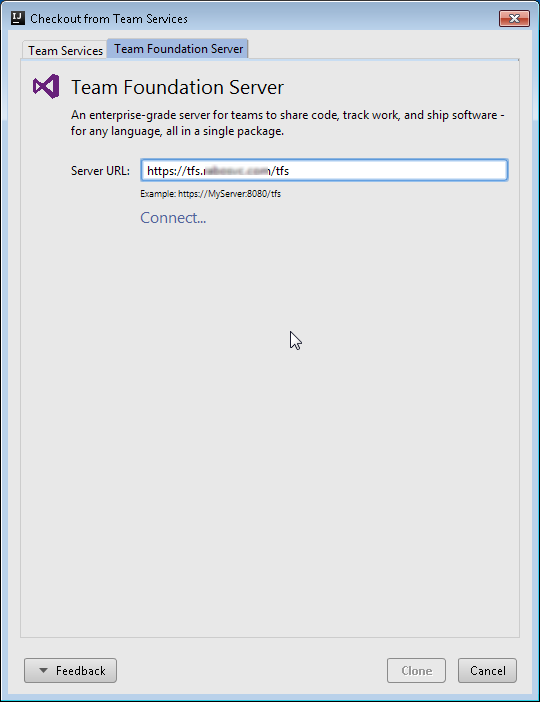
Move to the Team Foundation Server tab and specify the address of your TFS server, then click connect. You will now be prompted for the credentials and if everything is ok, you will be show the list of available repositories
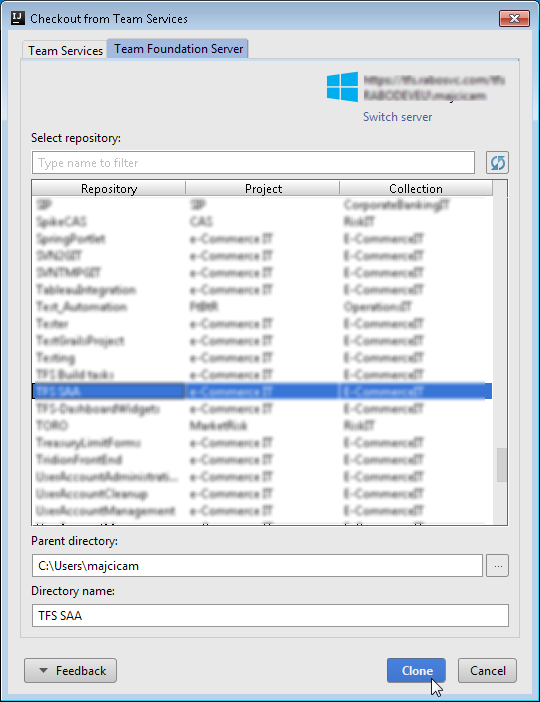
You are now able to clone the repository of your choice and start working with it directly from IntelliJ IDEA.
Visual Studio Team Services plugin and TFVC
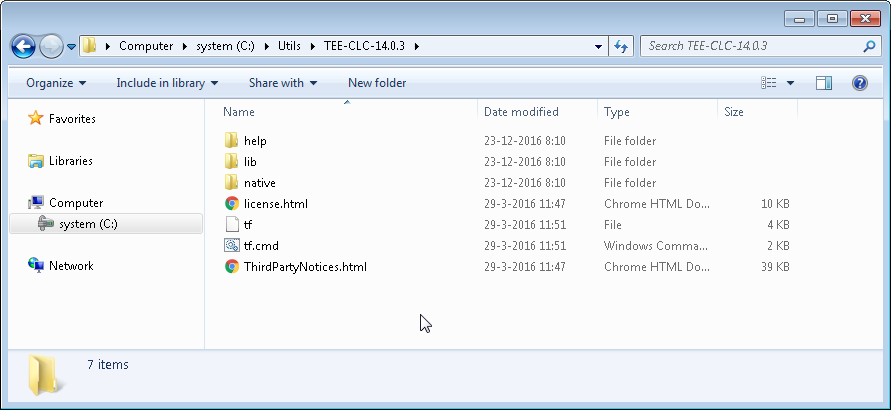
Before starting with TFVC, as for Git, we need an external tool. The tool in question is TF command line tool. It ships with the Microsoft Team Explorer Everywhere 2015 and you can download it here.
The file we are interested in is TEE-CLC-14.0.3.zip. Download it and unzip it in a folder of your choice. You should end up with something similar to this.
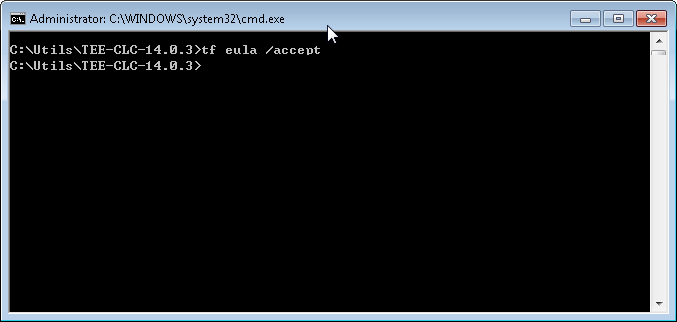
Now, open the command prompt, move into the folder where you have extracted the TF command line tool and run the following:
tf eula /accept
If command succeeded and you haven’t received any error, you are good to go.
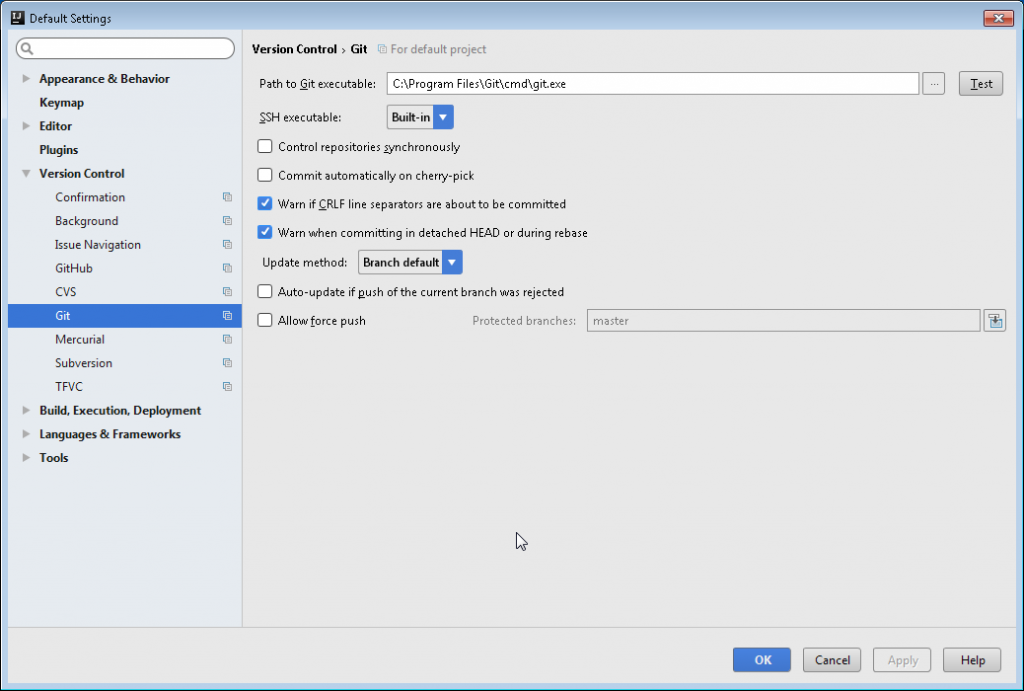
Now back to IDEA. Open the settings panel.
and move to Version Control -> TFVC pane. In the select path to executable field, enter the exact path to the tf.cmd command file located in TF command line tool folder.
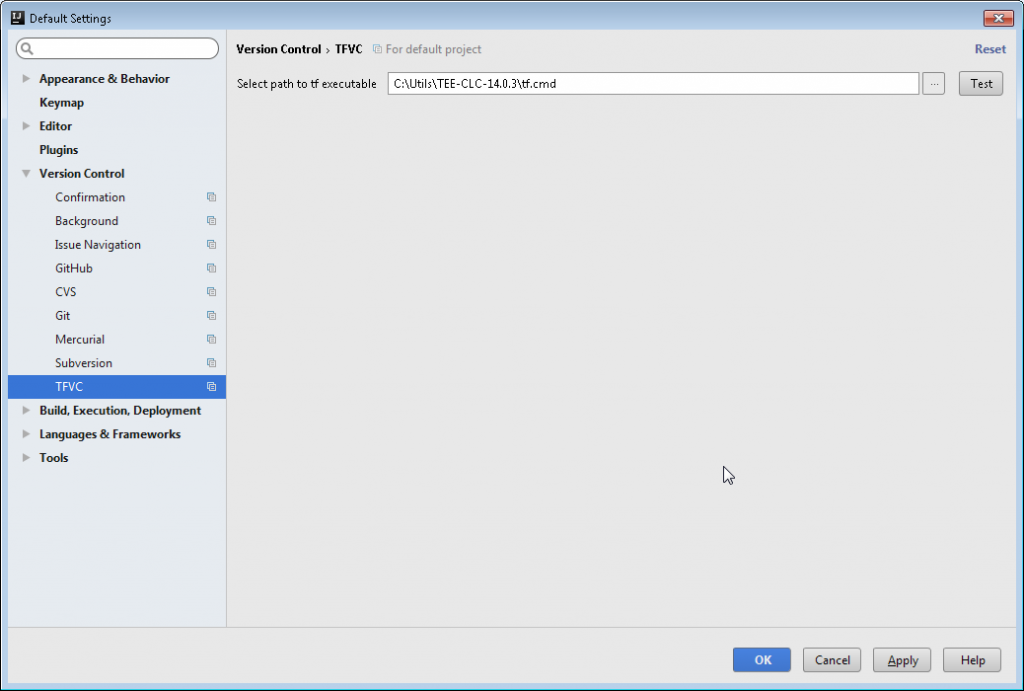
Once done, press the test button and you should see the following message
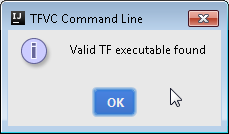
Confirm all of the open windows and get back to the IDEA welcome page. Now you are ready to choose Team Services TFVC (Preview) version control.
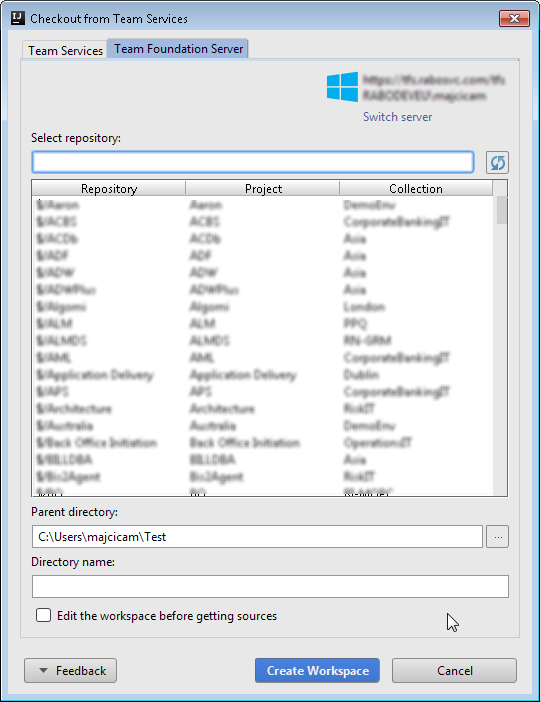
At this point, same as for Git, you will be prompted about the connection towards your TFS. The following dialog will be shown.
Move to the Team Foundation Server tab and specify the address of your TFS server, then click connect. You will now be prompted for the credentials and if everything is ok, you will be shown the list of available TFVC repositories.
You can now create a new workspace directly from IDEA and start working with your TFVC repositories.
Troubleshooting
There are a couple of common issues you may encounter in following what I just described. I will tell you about the most common ones and how to overcome those.
In case you see the message in the following screenshot
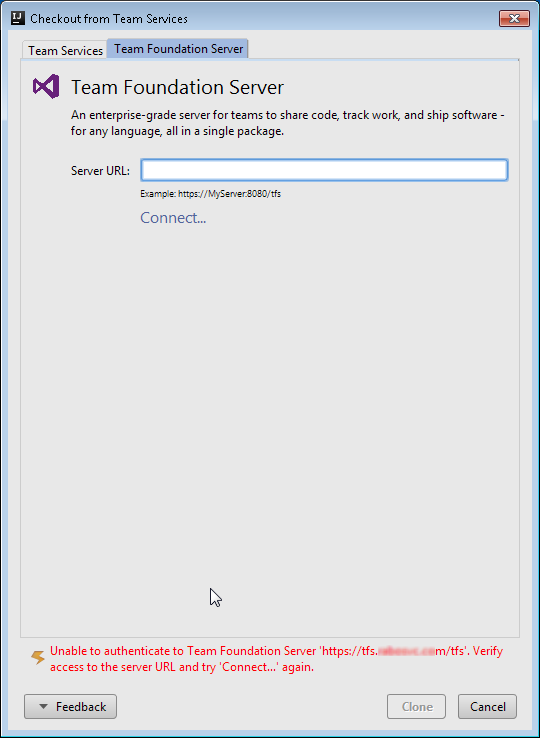
You are probably facing some issues with the certificate. Make sure that you exported/imported the certificate correctly.
During the test of the TF command line utility, you may encounter the following exception
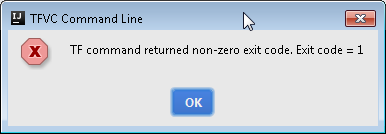
In may case it turned out to be a problem with allocating the heap memory from TF process. I could clearly see in the log file the following:
2016-12-22 13:14:08,949 [  17642]   INFO - ugin.external.commands.Command - 167680800(ns) - elapsed time for add -noprompt -?

2016-12-22 13:15:46,592 [ 115285]   INFO - lugin.external.ToolRunnerCache - getRunningToolRunner: toolLocation={0}

2016-12-22 13:15:46,592 [ 115285]   INFO - lugin.external.ToolRunnerCache - getRunningToolRunner: slow version - null

2016-12-22 13:15:46,592 [ 115285]   INFO - alm.plugin.external.ToolRunner - ToolRunner.start: toolLocation = C:\Utils\TEE-CLC-14.0.3\tf.cmd

2016-12-22 13:15:46,592 [ 115285]   INFO - alm.plugin.external.ToolRunner - ToolRunner.start: workingDirectory = null

2016-12-22 13:15:46,592 [ 115285]   INFO - alm.plugin.external.ToolRunner - arguments: add -noprompt -?

2016-12-22 13:15:46,716 [ 115409]   INFO - ugin.external.commands.Command - CMD: Error occurred during initialization of VM

2016-12-22 13:15:46,717 [ 115410]   INFO - ugin.external.commands.Command - CMD: Could not reserve enough space for 2097152KB object heap

2016-12-22 13:15:46,731 [ 115424]   WARN - ugin.external.commands.Command - CMD: parsing output failed

com.microsoft.alm.plugin.external.exceptions.ToolBadExitCodeException: KEY_TF_BAD_EXIT_CODE

	at com.microsoft.alm.plugin.external.tools.TfTool.throwBadExitCode(TfTool.java:109)

	at com.microsoft.alm.plugin.external.commands.Command$1.completed(Command.java:155)

	at com.microsoft.alm.plugin.external.ToolRunner$ListenerProxy.completed(ToolRunner.java:289)

	at com.microsoft.alm.plugin.external.ToolRunner$ProcessWaiter.run(ToolRunner.java:327)
A workaround for this issue is to modify the tf.cmd file by specifying a lower -Xmx parameter. By default it is set to 2014MB however a 1024MB also worked well for me.
Another issue with this version of Visual Studio Team Services plugin is in changing in between the Team Services TFVC (Preview) and Team Services Git, or viceversa. You can read more about it here, TfsAuthenticator hangs the IDE.
No matter the issue, you can always find more information about it in the log file. The log file is located in my case in C:\Users\majcicam\.IdeaIC2016.3\system\log. Adapt this path to your case. The log file name is idea.log.
Visual Studio Team Services Plugin settings can be found in vsts_settings.xml file under C:\Users\majcicam\.IdeaIC2016.3\config\options folder.
Useful links
On visualstudio.com you can read more about this topic and see some useful how-to video.
- Installing Visual Studio Team Services Plugin for IntelliJ IDEA and Android Studio
- Using Visual Studio Team Services Plugin for IntelliJ
With all of these information I do hope you can get on going with the plugin and boost your productivity.
Happy coding.