Visual Studio Code behind a proxy
This post is kind of a continuation of Tough life behind a proxy series. This time is the moment of Visual Studio Code. This application does require the web access when it come to plugin installation. If you are behind a proxy, it will not be the easiest thing to achieve.
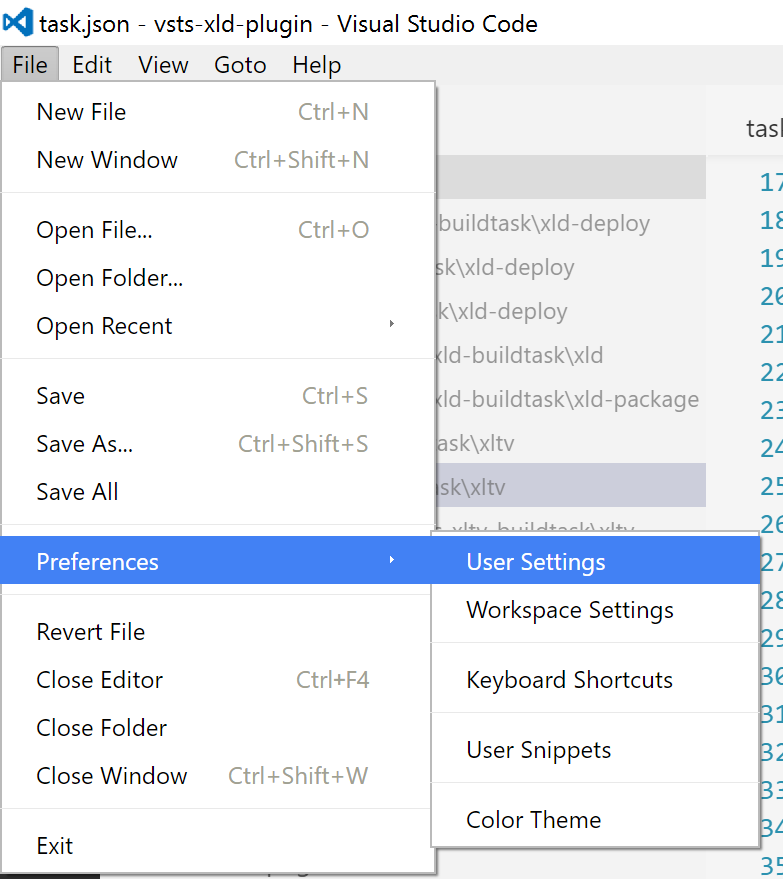
To set the proxy in Visual Studio Code you need to edit the User Settings. You can do so by opening them from the Preference menu:

Once you open it you will be presented with a screen showing the default settings and your user settings file that does override the default settings:

Now you can enter the following:
// Place your settings in this file to overwrite the default settings
{
 "http.proxy": "http://my.proxy.address:8080",
 "https.proxy": "http://my.proxy.address:8080",
 "http.proxyStrictSSL": false
}
Some of these information is quite easy to retrieve on interweb, however often they do not mention https and disabling strict SSL. In order to install your extension this is a necessary setting.
Make sure you have the latest version of Visual Studio Code installed before testing this as in some older versions this was not supported.
Save your settings and restart Visual Studio Code. Try now installing an extension, it should be a success.
If you are unaware on how to install an extension in Visual Studio Code, you can find more about this argument in the following blog post Announcing PowerShell language support for Visual Studio Code and more! under “Installing the extension” paragraph. To check the available extensions, please visit Visual Studio Marketplace.
Cheers