Custom nuget.exe for TFS 2015 build
Introduction
I had a couple of users complaining about not being able to restore a specific version of AutoMapper package during their build. A quick search showed me that they are not the only one facing this issues and that this is quite a common problem. I verified that I’m able to reproduce this issue and I saw that it is presented based on the version of nuget client. As by default the build agent does use the nuget.exe that ships with the agent itself, I verified the version of it and saw that in my case (TFS 2015.3) it is 3.2.1.10581. With the 3.2.1.10581 version of nuget client I was unable to restore the package in question (AutoMapper.5.1.1) meanwhile from Visual Studio with version 3.4.3.855 all went well. The error I could see in the log is the following:
##[error]Unable to find version '5.1.1' of package 'AutoMapper'.
Without digging into details of why this is happening, I’ll show you how to push your build to use a different version of a nuget client.
Preparing the build server
As a first thing, let’s “install” the latest nuget version on our build server. Just download the latest version of nuget client and place it in a folder of your choice. Make sure that account on which your build agent is running has sufficient rights to access that path. For me it will be ‘D:\Program Files(x86)\Nuget‘.
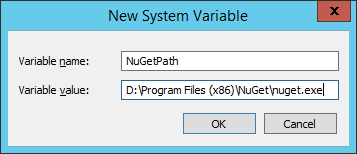
Once placed your nuget.exe in the above mentioned folder, let’s add a system environment variable that will point to this executable. Open Control Panel > System and Security > System and choose Advanced system settings. In System properties dialog click Environment variables button and add a new System variable by click the new button (and be sure it is a System property and not a user variable). As a variable name choose NugetPath and as value set the path towards your nuget.exe file, which in my case is D:\Program Files(x86)\Nuget\nuget.exe
Now you should restart your agent services so that the new system variable is picked up by the agents. If everything went well you should see the following capability in the agent capability list:
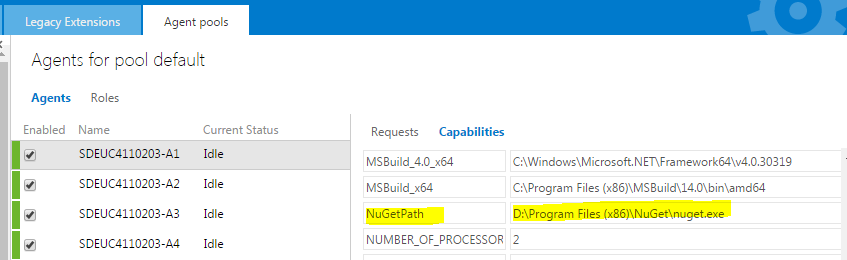
If you can see it listed correctly, it all went well till now.
Setting up the build
Now it’s the time for the build. I suppose you are using the NuGet Installer build step in order to restore your packages before the build. If not, you should, as resorting the packages from Visual Studio Build step is obsolete and should not be used.
In order to force NuGet Installer build step to use our new nuget client, we need to expand the Advance group settings and set the Path to NuGet.exe option value to $(NuGetPath):

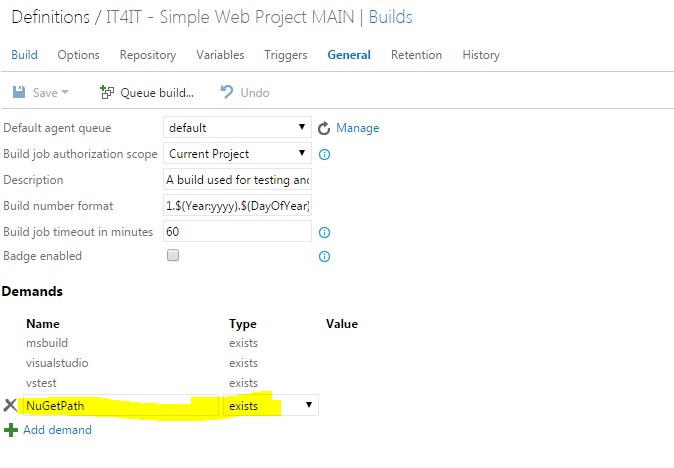
Once this is done, just to be sure that only the build agents having the custom nuget version installed will be used, we are going also to specify a demand for our build. In the general tab of you build definition add new demand of type exists and set it to NuGetPath:
Now, queue a new build and check in the log file that our new nuget client is used instead of the default one that ships with the build agent. You should find a similar line in your log:
D:\Program Files (x86)\NuGet\nuget.exe restore "E:\a1\_work\29\s\SimpleWebProject.sln" -NoCache -NonInteractive
That’s all folks, an easy way to push you build to use a specific version of the NuGet client instead of the default one.