Resetting the Visual Studio Experimental instance
Recently, I got into developing a couple of extensions for Visual Studio. As many of you know, once you create Visual Studio Package project (or any VSIX project), by default your application will be set to start debugging in a Visual Studio Experimental instance.
To safeguard your Visual Studio development environment from untested extensions that might change it, the Visual Studio provides an alternative Visual Studio instance that you can use to experiment. You are going to develop new extensions by using Visual Studio as usual, but you will run them by using this experimental instance.
This behavior is set as default by the Visual Studio Package project template and you can see it the following screenshot:
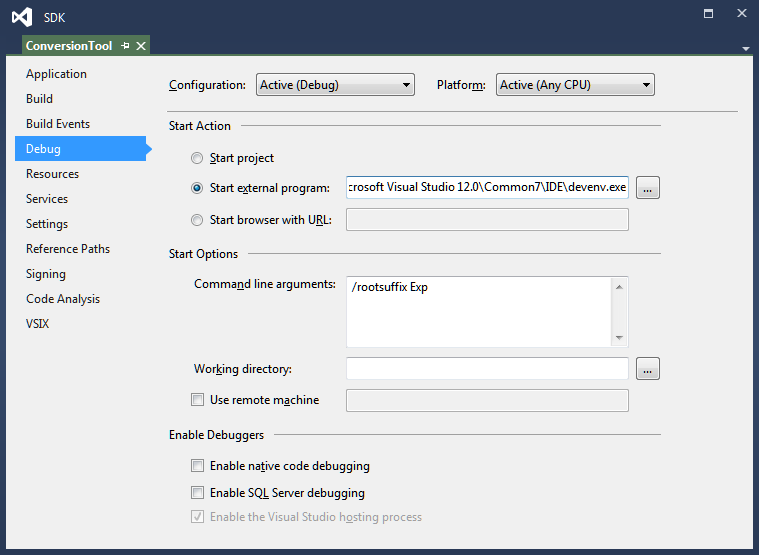
As you can see, we are pointing to the Visual Studio executable (we can vary that parameter for testing our extension with different versions of Visual Studio) and we are passing the following command line arguments to it:
/RootSuffix Exp
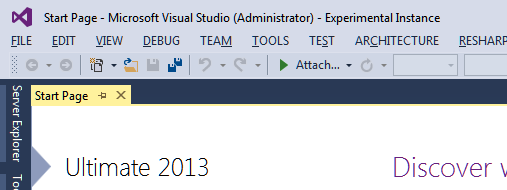
This is sufficient to start Visual Studio in Experimental instance mode and once you hit F5 and start debugging you will notice that the started instace of visual studio in the application title bar contains the “Experimental Instance” suffix.
The default location of the experimental instance depends on the Visual Studio version number. For example, for Visual Studio 2013, the location is
%localappdata%\Microsoft\VisualStudio\12.0Exp\
All the files in the directory location are considered part of that instance. Any additional experimental instances will not be loaded by Visual Studio unless the directory name is changed to the default location.
Till here all fine, but what happens once you have “ruined” your experimental instance environment?
Well, you will need to reset it. Although you can find all of this information on MSDN, it isn’t linked or clear enough on how to proceed.
Inside the
C:\Program Files (x86)\Microsoft Visual Studio 12.0\VSSDK\VisualStudioIntegration\Tools\Bin
folder you will find a utility called CreateExpInstance. Open your command prompt and position yourself in just mentioned directory (this is the default path for Visual Studio 2013 SDK, the same applies also for Visual Studio 2012, just change your path accordingly).
All you need to do now is to execute the following command
CreateExpInstance /Reset /VSInstance=12.0 /RootSuffix=Exp
Once the cleanup is performed, the next experimental instance you lunch will found itself in a clean environment. In case you are working with Visual Studio 2012 change the VSInstance parameter to 11.0.
You can find more details about the CreateExpInstance Utility here.